Disclosure: This article contains affiliate links — if you buy through them, I may earn a small commission at no extra cost to you. It's what keeps this site independent. Details.
You bought a solar panel. You bought a power station. You get to the campsite, pull both out of the box — and the plugs don't fit each other.
It's the most common frustration in portable solar, and it's almost never the product's fault. The issue is connectors. Solar panels and power stations often use different plug standards, and unless they match (or you have the right adapter), your panel can't charge your station no matter how much sun you've got.
The good news: once you understand the few connector types in play, connecting any solar panel to a power station is simple. This guide walks you through it step by step — which connector you have, which adapter you need, the voltage limits that protect your gear, and how to confirm it's actually charging.
- Most panels end in MC4 connectors; most stations use a proprietary input — so you usually need one adapter cable to bridge them.
- Match the adapter to your station: MC4 → 8mm for Jackery, MC4 → XT60i for EcoFlow.
- Always check your station's voltage and wattage limits before connecting, or you risk damaging the controller.
- Use a 10 AWG extension cable so you can place the panel in full sun without losing output.
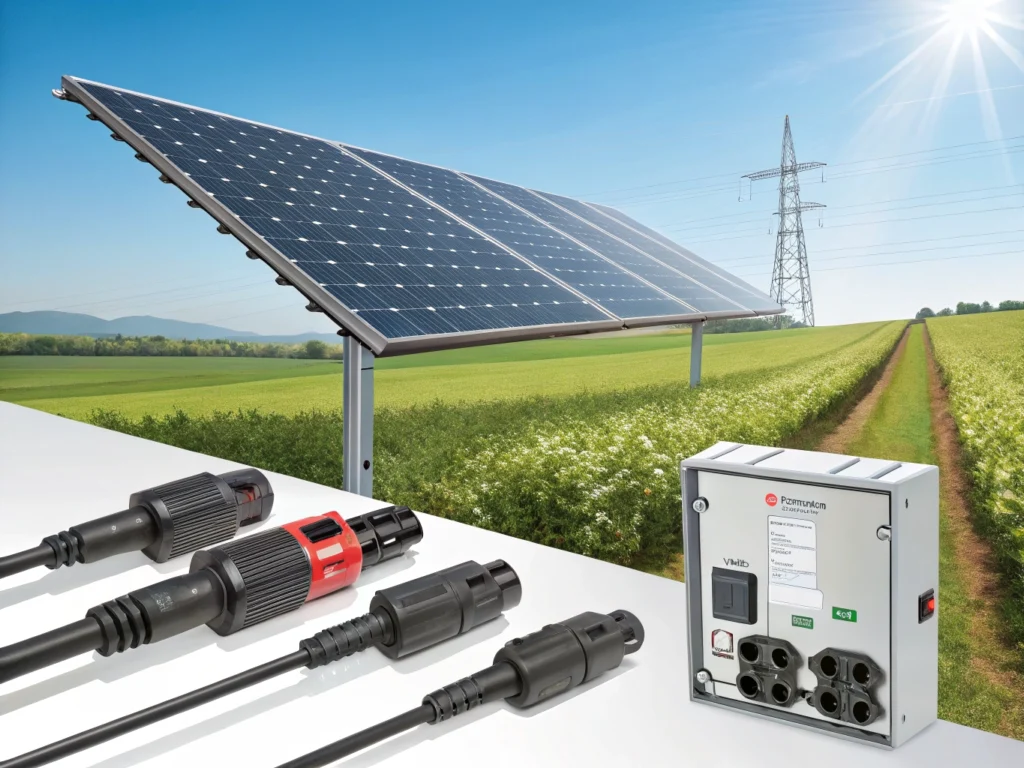
Most solar panels end in a pair of MC4 connectors — the industry standard. Most power stations use a proprietary input (EcoFlow uses XT60i, Jackery uses an 8mm barrel, others use XT60, Anderson, or accept MC4 directly).
So connecting them usually means one thing: an MC4-to-[your station's input] adapter cable. Match those two ends, stay within your station's voltage and wattage limits, and you're charging.
Step 1 — Identify your power station's solar input
Look at your power station's solar input port (often labeled "Solar" or "DC IN"). Always confirm against your exact model number, not just the brand — connector standards change between generations.
EcoFlow — XT60i
EcoFlow's Delta and River series use an XT60i input (a small yellow connector). EcoFlow's own panels include the matching cable; third-party panels need an MC4-to-XT60i adapter.
Jackery — 8mm (DC7909)
Jackery's Explorer series uses a proprietary 8mm (DC7909) barrel plug. Any non-Jackery panel needs an MC4-to-8mm adapter to connect.
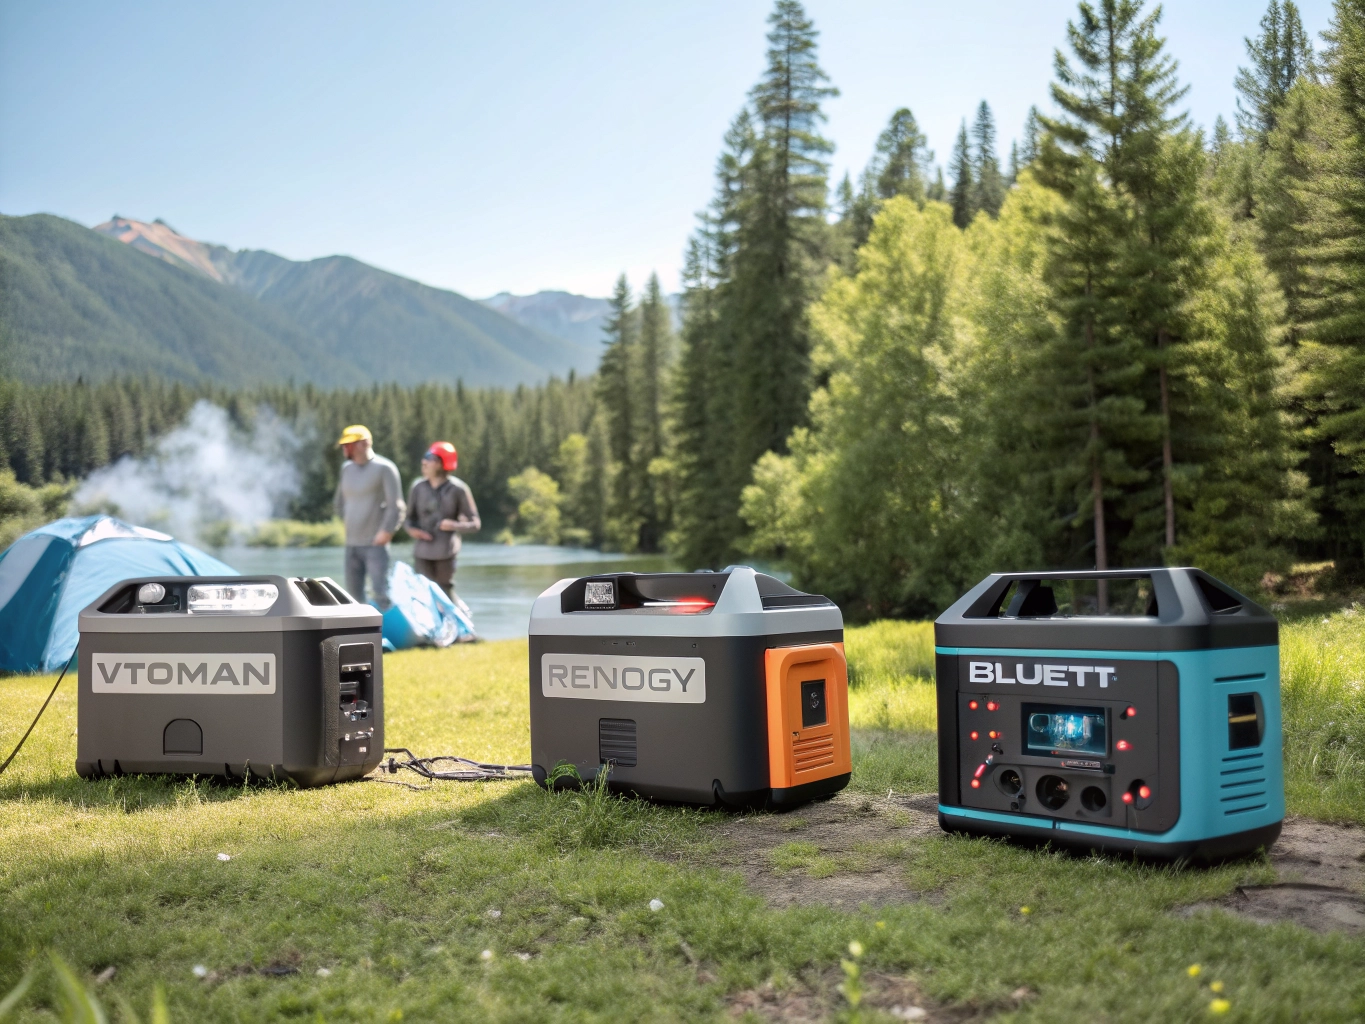
Anker SOLIX, Bluetti, VTOMAN
Anker SOLIX stations typically use a standard XT60 input. Bluetti varies by model — many accept MC4 directly, while others use XT90 or aviation connectors. VTOMAN usually uses an Anderson-style or DC input — check the adapter in the box.
Step 2 — Identify your solar panel's connector
Flip your panel over and find the cable. The vast majority of portable and rigid panels — Renogy, EcoFlow, Bluetti, Anker, BougeRV, and most others — terminate in MC4 connectors (one male, one female, round black plugs that click together).
A reliable, general-purpose foldable with standard MC4 output — the easy default for charging a power station.
Check price →More output for RVs and home backup, while keeping the same plug-and-play MC4 connection.
Check price →Step 3 — Match them with the right adapter
This is the part that trips everyone up. The rule: you need a cable with MC4 on the panel side and your station's input on the other side.
| Your power station | Adapter you need |
|---|---|
| EcoFlow (XT60i) | MC4 → XT60i |
| Jackery (8mm / DC7909) | MC4 → 8mm DC |
| Anker SOLIX (XT60) | MC4 → XT60 |
| Bluetti (MC4 native) | None — connect directly |
| Bluetti (XT90) | MC4 → XT90 |
Connects any third-party MC4 panel to a Jackery Explorer's proprietary 8mm input.
Check price →Bridges an MC4 panel to EcoFlow's XT60i solar input.
Check price →Tip: If you buy a same-brand panel and station (e.g. an EcoFlow panel with an EcoFlow station), the cable is usually included — you can skip the adapter entirely.
Step 4 — Check voltage & wattage limits before you plug in
This step protects your equipment, so don't skip it. Every power station has a maximum solar input — a voltage range and a wattage cap.
Never exceed the voltage range. Connecting a panel with higher voltage than your station's MPPT controller allows can damage it — people have fried controllers by connecting a 36V panel to a 30V-max input. Always confirm your panel's open-circuit voltage (Voc) falls inside your station's range.
Don't bother exceeding the wattage cap
If your station accepts 400W of solar and you connect 500W, the controller safely caps input at 400W and the extra 100W does nothing. Size your panels to the cap — overbuying wattage is wasted money. Check both numbers in your manual or on the station's screen before connecting.
Step 5 — Connecting multiple panels (series vs. parallel)
Wiring in series
Panels connected end to end add their voltages together. Use this when you need higher voltage — but watch that the combined voltage doesn't exceed your station's ceiling.
Wiring in parallel
Panels joined through a Y-branch add their amps/current together while keeping voltage the same — the safer option for staying under voltage limits.
Wire two panels in parallel — one branch for the positives, one for the negatives.
Check price →Best practice: use identical panels (same brand, wattage, and voltage) in one array. Mixing different panels confuses the MPPT controller and drops your total output.
Step 6 — Use the right extension cable
The whole point of a portable panel is chasing the sun — which often means placing the panel in full sun while the station sits in the shade. That needs an extension cable, and two things matter:
- Gauge (thickness): thin cheap cables cause voltage drop that kills performance over distance. Stick to 10 AWG or thicker copper for runs of any real length.
- Length: get what you need, but don't massively over-length a thin cable.
Thick enough to avoid voltage drop, so you can place the panel in full sun without losing output.
Check price →Step 7 — Plug in and verify it's charging
- Connect the adapter to your panel's MC4 ends (match positive to positive, negative to negative).
- Plug the other end into your station's solar input.
- Power on the station and check its screen — you should see solar input watts climbing.
- Angle the panel toward the sun (a 30–45° tilt dramatically improves output versus laying it flat).
If you see watts coming in, you're done. If not, work through the troubleshooting below.
Common mistakes & quick troubleshooting
No solar input showing?
- Check the panel isn't shaded — even a small shadow across one cell can collapse output.
- Make sure every connector is fully clicked in and seated.
- Confirm the panel's voltage is within the station's accepted range.
- If the battery is very hot, the station's safety system may pause charging until it cools.
Charging slower than expected?
- Real-world output is normally 70–85% of the panel's rating — a 100W panel making 75W in good sun is normal.
- Clean the panel surface; even light dust cuts output noticeably.
- Improve the tilt angle toward the sun.
Bought the wrong adapter?
Match the station's input type exactly (XT60i ≠ XT60 ≠ 8mm). When in doubt, check the manual's "solar input" spec.
Frequently asked questions
Can I connect any solar panel to any power station?
Almost — as long as you use the right adapter and stay within the station's voltage and wattage limits. The connector types differ between brands, but adapters bridge nearly any combination.
Does using a third-party panel void my warranty?
Generally no, as long as the panel meets the station's voltage and amperage specs. Many buyers save 40–60% using compatible third-party panels with only a small performance trade-off. Confirm with your station's manufacturer to be sure.
Will a higher-wattage panel charge my station faster?
Only up to your station's input cap. Beyond that limit, the controller caps the input and the extra wattage is wasted — so match the panel to the cap rather than overbuying.
Why isn't my station charging in full sun?
Usually shading, a loose connector, a voltage mismatch, or a too-hot battery pausing the charge. Work through the troubleshooting steps above.
Do I need a separate charge controller?
No — portable power stations have a built-in MPPT charge controller, so don't add a separate one. This only applies to DIY battery banks, not all-in-one stations.
The bottom line
Connecting a solar panel to a power station comes down to one thing: matching the panel's MC4 connector to your station's input with the right adapter, while staying inside the voltage and wattage limits. Get that right and you've got free, quiet power anywhere the sun reaches. For help choosing the panel itself, see our solar panel buying guides, and to pick the right station, browse our portable power station reviews.